Tutoriel N° 1c9
Enable locate Command in the Mac OS X Terminal
if you dont have locate enabled yet all that is required is typing this command into the Terminal:
sudo launchctl load -w /System/Library/LaunchDaemons/com.apple.locate.plist
This is told to you directly by OS X the first time you attempt to run locate or any of the commands dependent on the database:
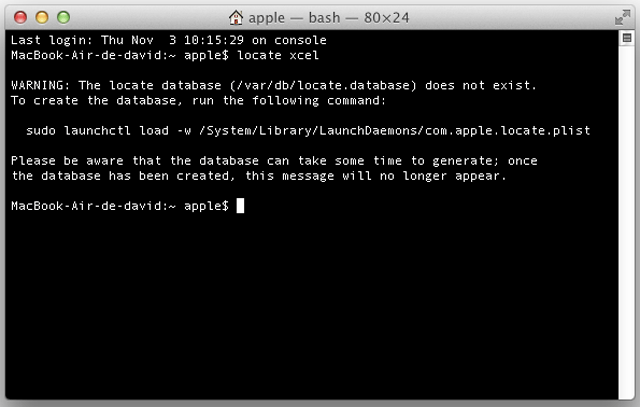
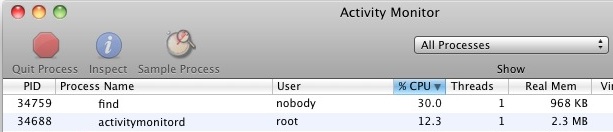
How long it takes to generate the database varies, but the larger your hard disk the longer itll be. You can watch the progress indirectly through Activity Monitor, where the find process will be running at around 15-30% CPU use until the locate database is generated.
Alternatively you can also run the following command and build the database:
sudo /usr/libexec/locate.updatedb
As with many terminal commands, locate accepts wildcards and regular expressions, helping you narrow down advanced searches. For example, you could find every possible file with a .jpg extension by using:
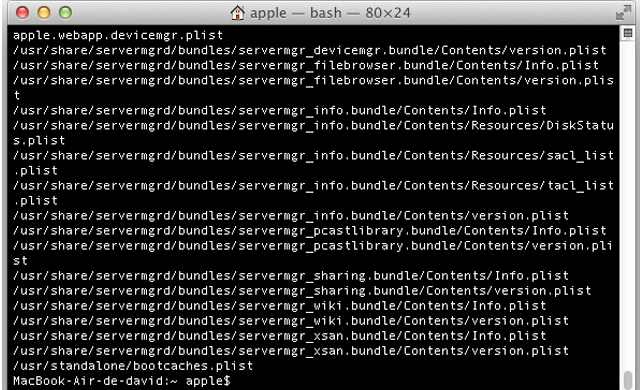
locate *.plist

Some jpg files will inevitably have an uppercase extension though, and you can tell locate to ignore case sensitivity with -i:
locate -i *.jpg